Quick answer
Start with a machine that takes at least one variable off your plate while you're still learning the others. The Ninja Luxe Café Premier 3-in-1 at $499.99 gives you drip coffee and cold brew alongside espresso, so a rough shot doesn't cancel your morning coffee. The Breville BES450BSS Bambino at $249.95 keeps the job to one thing — espresso — from a brand most first-time buyers already recognize. If your budget is under $150, the CASABREWS CM5418 ($111.99) and CASABREWS 3700 Essential ($93.49) are straightforward stainless machines with a steam wand and nothing extra to configure, and the Chefman CraftBrew at $74.99 is the honest floor: a real 15-bar pump and digital controls for less than a week of café lattes. None of the five grinds beans for you — plan for that separately, which we cover below.
Why there are no star ratings on this page
Amazon's product API does not return a rating or a review count for the machines named in this guide, so we don't print one, and we don't paraphrase review sentiment we have no way to verify. Every claim below traces back to what's published about the product, its price, or a general coffee fact that holds regardless of brand.
Things to know before you buy
- A "forgiving" machine isn't necessarily the cheapest one — it's the one that reduces the number of things you can get wrong at once.
- None of the five machines in this guide includes a built-in grinder, so budget for that separately before you budget for the machine.
- A manual steam wand is a skill you build over days, not minutes — every machine here except where noted uses one.
- Your first several shots will probably be wrong in a specific, fixable way. That's normal, not a defect.
- The machine you start on doesn't have to be the machine you keep — the grinder and a couple of accessories usually outlast it.
Why you should trust this guide
We do not physically test these machines and we do not run a testing lab. We compare what's published about each product — price, footprint, controls, milk system where it's stated — against general, well-established facts about how espresso brews, and we say so plainly whenever a listing doesn't give us enough detail to make a specific claim. Ilane Tall has covered the home-espresso category for this site since it launched, and this guide is built the same way every guide here is: from spec sheets and prices, not from a taste panel we don't have.
Pressurised baskets: training wheels that actually work
Most entry-level and mid-range pump machines ship with what's called a pressurised, or "crema," basket as the default. It has a small secondary restriction built into the basket itself, near the outlet, that generates back-pressure on its own — independent of how fine you ground the coffee or how hard you tamped it.
That is the single biggest reason a beginner can pull a passable shot on day one instead of week three. On a non-pressurised basket, a grind that's slightly too coarse just runs through in twelve seconds and tastes thin and sour — there's nothing in the hardware compensating for your mistake. On a pressurised basket, the restriction does some of that work for you, which is why it forgives a coarser or less consistent grind and still produces something with real crema on top.
The honest trade-off: a pressurised basket also flattens the differences between a good grind and a great one, so it puts a ceiling on how far you can push a shot toward café quality. That's a fair exchange in week one. It stops being a fair exchange once your grind is consistent and you're chasing a specific flavor rather than just trying to get espresso instead of brown water — at that point, switching to a non-pressurised basket, if your machine includes or supports one, is usually the highest-value free upgrade available to you.
None of the five machines here lists its basket type in our product data, so check the current listing if this detail matters to you. The category default at these price points is a pressurised basket out of the box.
What makes a machine forgiving vs demanding
"Forgiving" and "demanding" aren't about build quality — a cheap machine can be more forgiving than an expensive one, and vice versa. What actually moves the needle for a beginner is how many decisions the machine makes for you versus how many it hands back.
A machine with digital, preset controls — like the touch panel on the Chefman CraftBrew — takes the guesswork out of one variable: you're not eyeballing when to stop the pump, the machine is. A machine offering more than one brew method, like the Ninja Luxe Café Premier 3-in-1's espresso, drip and cold-brew modes, lowers the stakes of any single bad shot, since you have somewhere else to go for caffeine that morning. A single-purpose machine — most of the rest of this list — asks more of you precisely because there's nothing else to fall back on.
Milk is its own, separate skill. A manual steam wand, which the CASABREWS 3700 Essential, the CASABREWS CM5418 and the Chefman CraftBrew all include per their listings, requires you to learn milk texture by ear and by feel. It is not hard, but it is a second skill stacked on top of pulling a shot, and it's worth practicing on plain milk first. Where a machine's milk system isn't detailed in our data — the Breville Bambino and the Ninja Luxe Café Premier, in the specs available to us — check the current listing before assuming either way.
Our full buying guide goes deeper on machine classes generally; this page is specifically about which of those classes is kindest to someone who has never pulled a shot before.
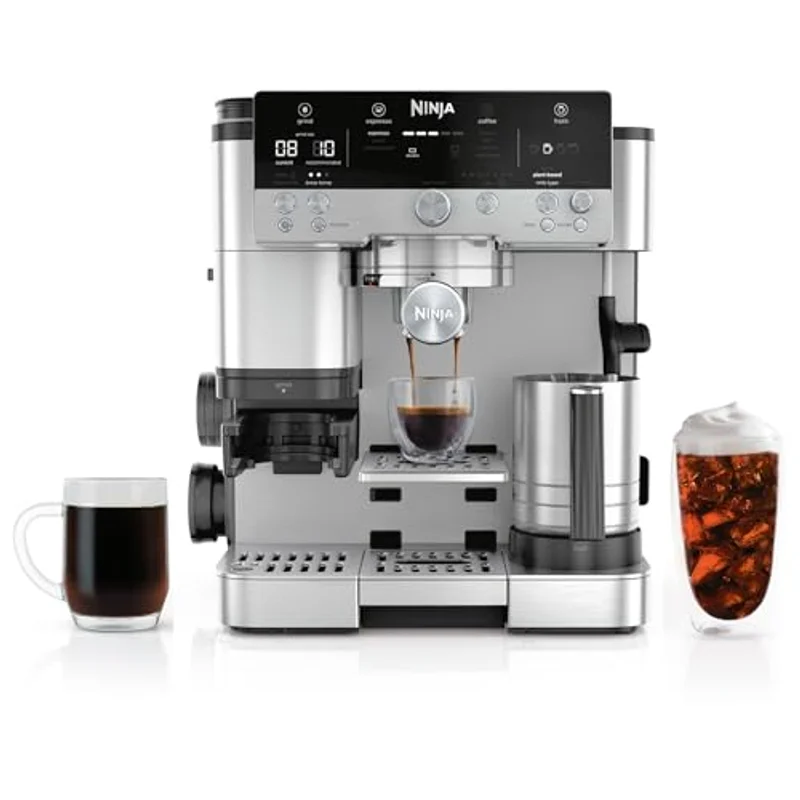
Ninja Luxe Café Premier 3-in-1
Espresso, drip coffee and cold brew in one machine, sized 12.99 × 13.39 × 14.57 inches. The safety net: a rough espresso morning still leaves you with a full pot of drip coffee, which is why we rank it easiest to live with while you learn.
$499.99 Check price →
The picks, easiest first
Ordered from most forgiving to most demanding of your technique — not from most to least expensive. Prices are what we recorded on August 23, 2026.
01Easiest to live with
Ninja Luxe Café Premier 3-in-1
For the beginner who isn't sure espresso will stick yet
3-in-1 · espresso, drip coffee & cold brew · 12.99 × 13.39 × 14.57 in
This is the one machine here that doesn't put your whole morning on one shot. If the espresso side comes out sour or bitter while you're still dialing things in, you can still make drip coffee or cold brew on the same countertop appliance. That safety net is why it tops this list even though it's the most expensive machine in the group.
The trade-offIt's the largest footprint here by a clear margin, and our product data doesn't specify a built-in grinder or the exact milk system — check the current listing for both before you buy if either is a deciding factor.
02One job, done simply
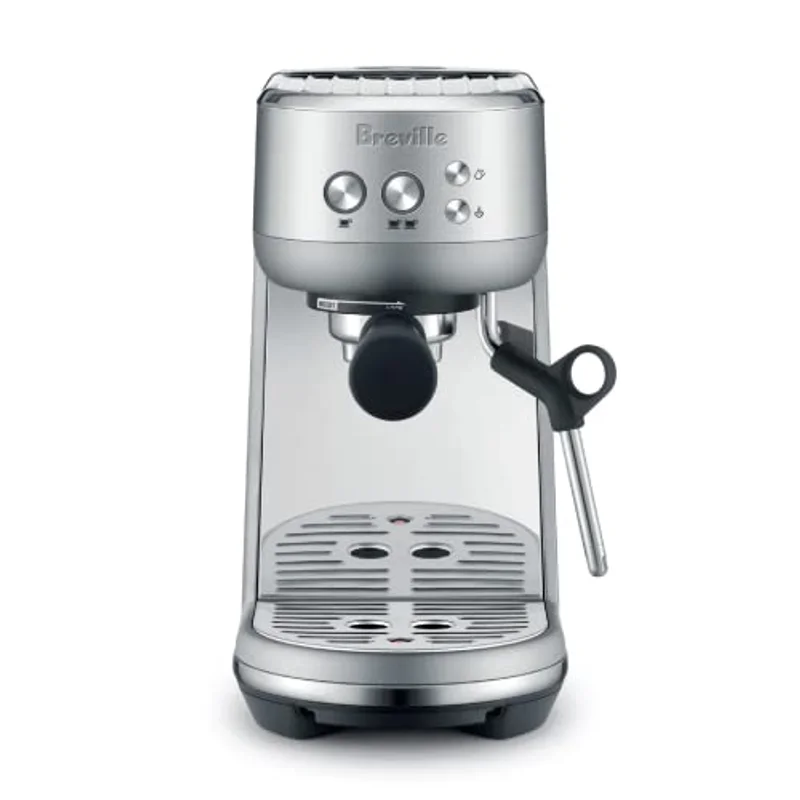
Breville BES450BSS Bambino
A trusted name, a compact machine, one skill to learn
Semi-automatic · brushed stainless steel · small footprint
Breville is one of the most recognized names in home espresso, and the Bambino's whole job is espresso — no drip side, no cold-brew mode. For a beginner that narrowness is a feature: one process to learn, and a small footprint (listed as "Small" in our sizing data) that fits where a bigger 3-in-1 machine wouldn't.
The trade-offOur listing doesn't specify whether the steam wand is manual or automatic, or confirm a grinder — check the current listing on both before ordering. Budget for a separate burr grinder regardless.
03Small and straightforward
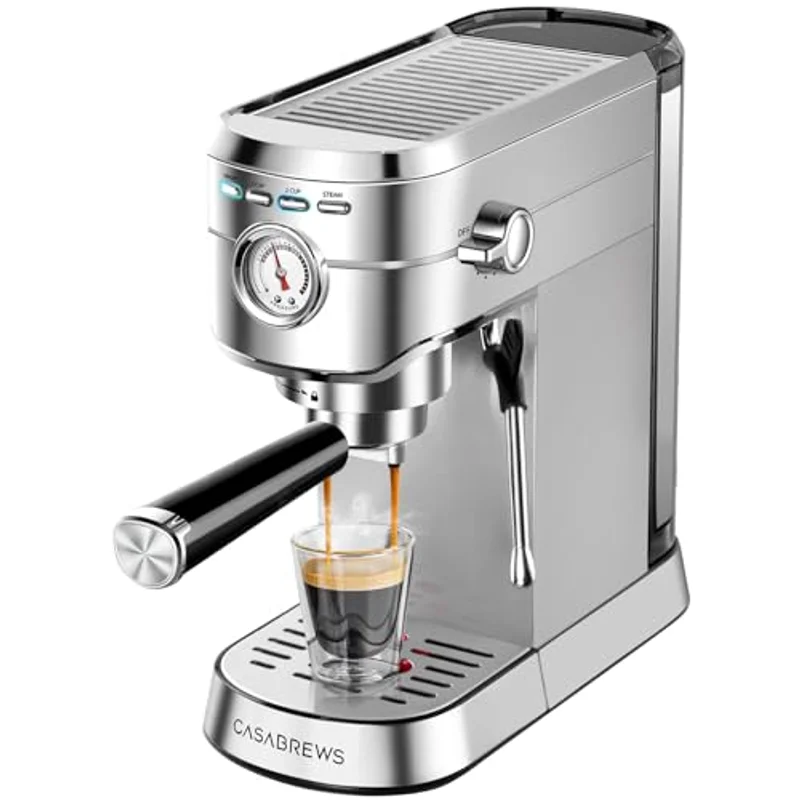
CASABREWS CM5418
A compact starter with milk built into the plan
Semi-automatic · milk frothing steam wand · small footprint
The CM5418 ships with a milk frothing steam wand as a named feature, not an afterthought, so if lattes and cappuccinos are the point for you, this machine tells you upfront that it's built for that rather than leaving you to guess. Its small footprint keeps it in reach for apartment kitchens and shared counters — the kind of space where our guide to compact espresso machines spends most of its time.
The trade-offThe wand is manual, so milk texture is a skill you'll spend your first week or two building, and it's worth practicing on plain milk before you combine it with a fresh shot.
04Budget, still real
CASABREWS 3700 Essential
The same category as the CM5418, at a lower price
Stainless steel · steam wand · 12.6 × 5.7 × 12.2 in
Under $100, in stainless, with a steam wand and a real portafilter setup — and at 5.7 inches wide, it's narrow enough to slot into a kitchen where counter space is already spoken for. It sits one step below the CM5418 in price and, on the specs we have, in included milk-side features, which is the whole reason it ranks slightly more demanding rather than because it's a worse machine.
The trade-offNothing here is automated for you — grind, dose, tamp, steam are all yours to learn, and a small entry-level boiler generally means waiting between a shot and steaming milk. Fine for one or two drinks at a time.
05The honest floor
Chefman CraftBrew
The cheapest way to find out if you'll stick with it
15-bar pump · digital controls · 1.5 L removable reservoir · steam wand
At $74.99 this is the lowest-risk way into the hobby: a real 15-bar pump, digital controls rather than a bare mechanical switch, a steam wand for latte and cappuccino, and a 1.5-liter removable reservoir sized to match. Digital controls are a small mercy for a beginner — one less analog dial to misjudge while you're already juggling grind and tamp.
The trade-offIt's the cheapest machine here for a reason: expect a smaller boiler and fewer conveniences than the machines above it, and no grinder, so a separate burr grinder is not optional if you want a real result. Buy it as a starting point, not a forever machine.
The three accessories a beginner really needs
None of the five machines above grind beans, so the accessory conversation starts there and shouldn't stop there. Three things earn their place in a first-timer's setup — everything past this list is nice-to-have, not need-to-have.
1. A burr grinder. This is the one that isn't optional. Pre-ground coffee is milled to a single fixed size meant to work across every brew method, too coarse for espresso and impossible to adjust — grind size is your main control over how a shot extracts. It doesn't need to be expensive or fast; it needs burrs, not blades, and a fine-enough setting for espresso. Our guide to choosing beans and grind size covers what "fine enough" looks like.
2. A small kitchen scale. Espresso is a ratio — a dose of dry coffee in, a yield of liquid out — and you can't repeat a shot you liked, or fix one you didn't, without knowing either number. A basic scale that reads to a tenth of a gram is enough. It's the cheapest accessory on this list and the one beginners skip most often, which is why the first week feels random until they stop skipping it.
3. A milk frothing pitcher. If your machine has a manual steam wand — true of the Chefman and both CASABREWS models, and possibly the Bambino depending on the listing — a stainless pitcher with a pointed spout gives you the control to swirl and pour that a random mug won't. Our roundup of espresso machines with a milk frother covers machines built around that convenience directly, if that's the route you'd rather take.
Your first week: a realistic learning curve
Set expectations before you set up the machine, because the gap between expectation and reality is what makes people quit in week one over a problem that was never about the machine.
Day one and two. Follow the manufacturer's first-use rinse cycle before brewing anything for drinking — every machine in this category needs one. Your first several shots will likely run too fast and taste thin and sour, or too slow and taste bitter and burnt. That's not a broken machine; it's a grind setting you haven't found yet. Our troubleshooting guide covers the specific fixes for a shot that runs in either direction.
Day three and four. This is when grind size stops being a guess and starts being a system: taste, adjust one click finer or coarser, taste again, and write down what worked. A pressurised basket is doing some of this work for you already — more room for error than a non-pressurised setup, which is the point of starting on one.
Day five through seven. If your machine has a manual steam wand, this is when milk texturing clicks — not because the wand changed, but because your ear starts recognizing the pitch that means enough microfoam. Practice on plain milk first, separate from a live shot, so you're building one skill at a time.
By the end of week one, "good" doesn't mean café-quality. It means a shot you'd make the same way on purpose tomorrow. That's the actual milestone — repeatability, not perfection.
When to upgrade — and what to keep
The honest signal that you've outgrown a beginner machine isn't boredom — it's a specific, recurring frustration with something the machine structurally can't fix. A pressurised basket that's capping how far you can push flavor once your grind is genuinely consistent. A small boiler that makes you wait between a shot and steaming milk when you're making drinks for two people, not one. A single-purpose machine when what you actually want, three months in, is more control over pre-infusion or a bigger portafilter for third-party baskets.
None of that is a verdict on the machine you started with — it's what "starter" means. When that day comes, our picks of the best espresso machines under $500 cover the next tier up, where more control and bigger boilers live without jumping to prosumer pricing.
What you keep matters more than what you replace. A burr grinder you bought correctly the first time doesn't become wrong when you upgrade the machine — it keeps working for whatever comes next. Same for a scale and a milk pitcher. The one thing every machine needs regardless of tier is regular descaling on a schedule tied to your water hardness; our maintenance schedule guide covers that for whichever machine you end up owning, starter or otherwise.
How the five compare
Same order as the picks above — easiest first. Prices are what we recorded on August 23, 2026.
| Machine | Best for | Milk | Footprint | Price | |
|---|
 Ninja Luxe Café Premier 3-in-1 Ninja Luxe Café Premier 3-in-1 | Lowest stakes | Not specified — check listing | 12.99 × 13.39 × 14.57 in | $499.99 | Price |
 Breville BES450BSS Bambino Breville BES450BSS Bambino | One skill, trusted brand | Not specified — check listing | Small | $249.95 | Price |
 CASABREWS CM5418 CASABREWS CM5418 | Small kitchens, milk drinks | Manual frothing wand | Small | $111.99 | Price |
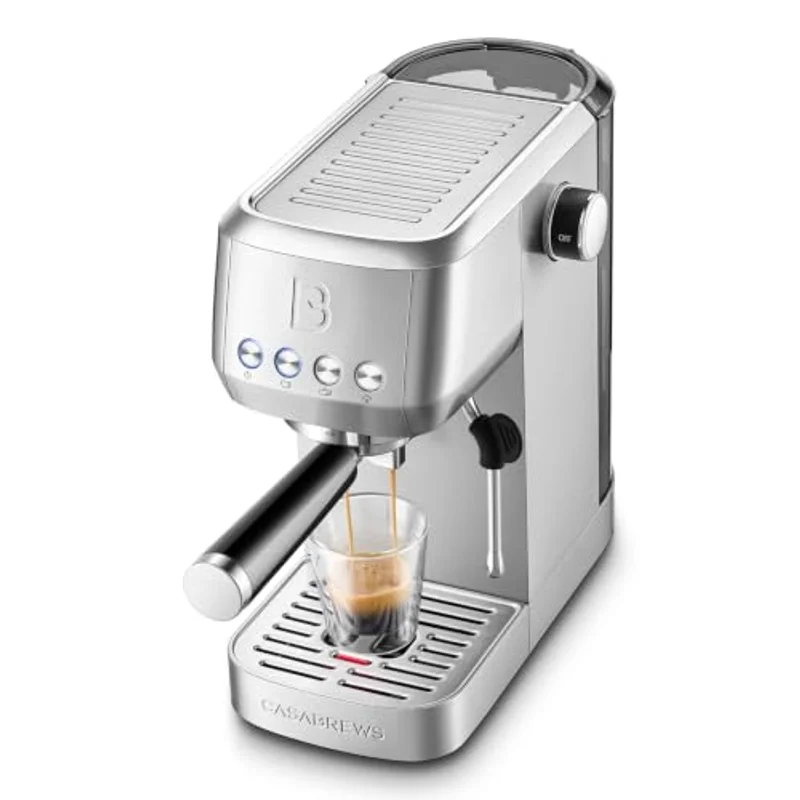 CASABREWS 3700 Essential CASABREWS 3700 Essential | Budget, still real | Manual steam wand | 12.6 × 5.7 × 12.2 in | $93.49 | Price |
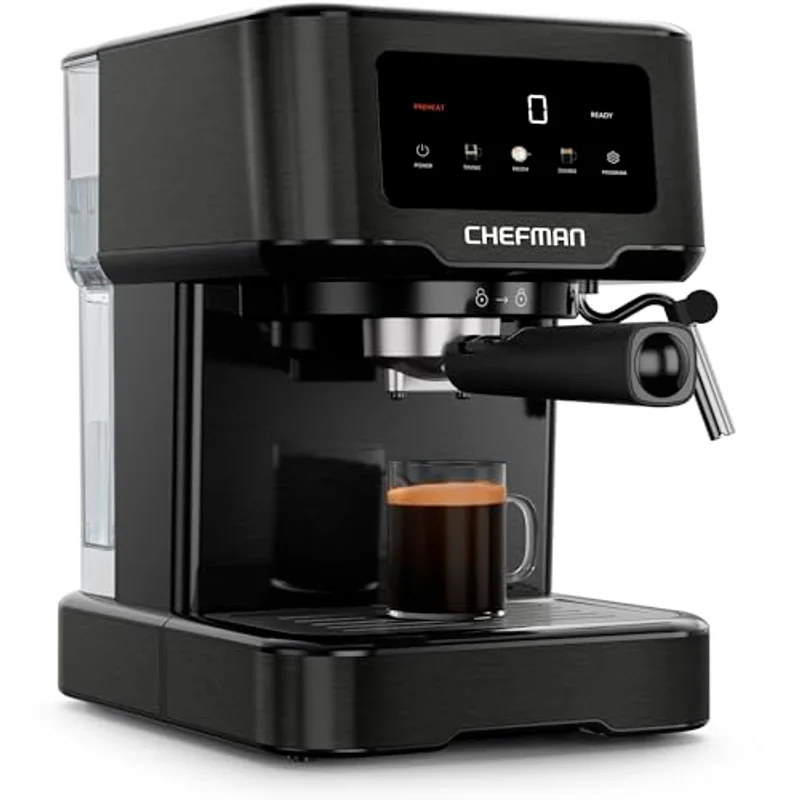 Chefman CraftBrew Chefman CraftBrew | Cheapest honest starter | Manual steam wand | 1.5 L reservoir | $74.99 | Price |
How we compared
We compare published specifications, what's stated in each listing, and live pricing, and we're explicit whenever the data available to us doesn't cover a spec — milk system, grinder, exact wattage — rather than guessing or carrying it over from a similar-looking model. We do not physically test these machines and we do not run a testing lab. Amazon's product data returns no rating and no review count for the machines named in this guide, so this page carries no stars and no invented scores. Where a claim is a judgment rather than a spec — that a pressurised basket helps a beginner more than it hurts, that a 3-in-1 machine is the easiest starting point — we've said so in our own voice so you can weigh it yourself. General facts used throughout (roughly 9 bar of brewing pressure at the puck, burr grinders beating blade grinders, grounds staling within days) are standard background rather than claims about any specific product.
Frequently asked questions
Do pressurised baskets actually make espresso easier for beginners?
Yes, within limits. A pressurised basket builds back-pressure on its own through a restriction near the outlet, which compensates for a grind that isn't perfectly dialed in and still produces a shot with crema. The trade-off is a ceiling on how far you can push flavor once your technique improves — most beginners won't hit that ceiling in the first few weeks, which is exactly when the forgiveness matters most.
Do I need a grinder to start with one of these machines?
Yes. None of the five machines in this guide includes a built-in grinder, and pre-ground coffee is milled to one fixed size that's too coarse for espresso and can't be adjusted. A basic burr grinder — not a blade grinder — is a required accessory here, not an optional upgrade, regardless of which machine you choose.
How long does it actually take to make a decent shot?
Most beginners get a repeatable, drinkable shot within a week of daily practice: a few days of sour or bitter shots while you find your grind, then a few more days where dialing in becomes a system instead of a guess. "Decent" at that stage means a shot you could make the same way again on purpose — not café-quality, just repeatable.
When should I upgrade from a beginner espresso machine?
When you hit a specific, recurring limitation the machine can't fix structurally — a pressurised basket capping flavor once your grind is genuinely consistent, or a small boiler making you wait between a shot and steaming milk. That's usually a few months in, not a few weeks, and your grinder, scale and milk pitcher all carry over to whatever you buy next.
Keep reading