Espresso Machine Troubleshooting: 12 Common Problems, Fixed
Most espresso machine complaints trace back to five or six root causes that repeat across every brand and price point. Before you call it broken or start shopping for a replacement, work through the fixes in the order they most often resolve the problem — cheapest and most likely first.
Reader-supported: we may earn a commission if you buy through our links, at no extra cost to you. This guide compares published specifications and manufacturer guidance; we do not physically test these machines. Prices were recorded on the dates noted below and move constantly — confirm the live price before buying.
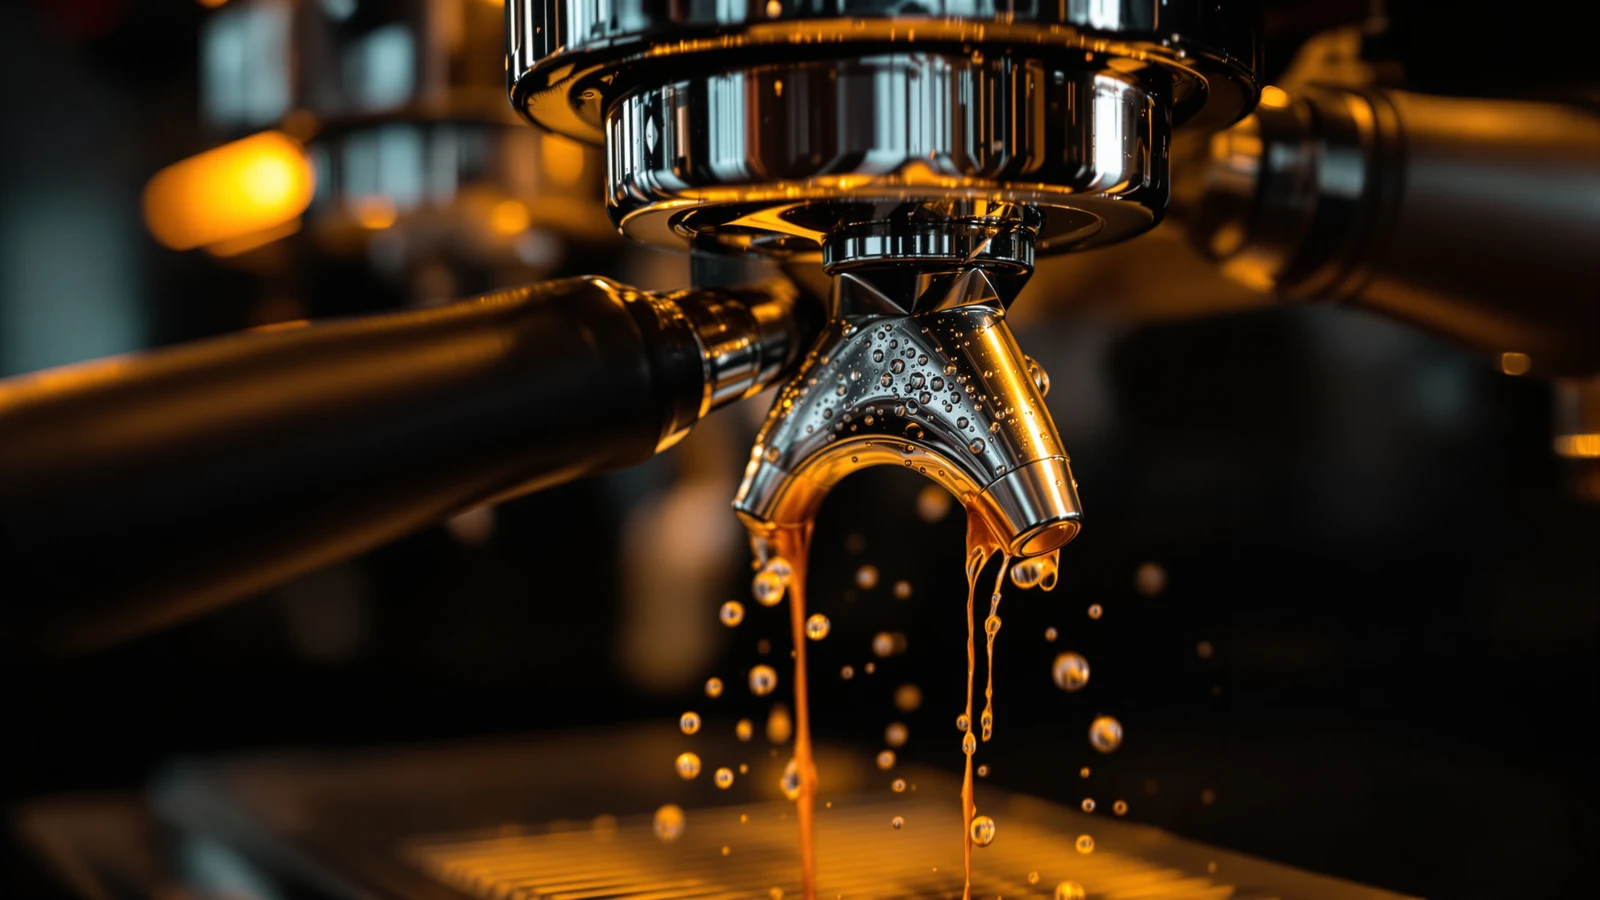
Work through problems in this order
Espresso machine complaints cluster around a small number of root causes, and the fixes below are ordered by how often each one turns out to be the actual culprit — not by how dramatic the symptom feels. A shot that runs out thin and fast feels like a broken machine. Almost always, it's the grind.
That ordering matters because it saves you money and a return shipment. Machines get returned or replaced for problems that a $15 descaling kit or a five-minute cleaning pin would have solved. Work the list top to bottom before you assume the worst.
The one honest caveat up front: we compare published manufacturer guidance, common mechanical causes, and specifications — we do not physically test these machines or run a repair bench. Where a fix is standard manufacturer advice (descaling, pin-clearing a steam tip, reseating a portafilter), we say so; where it's a judgement call about probability, we say that too.
1–3. Watery, fast shots: grind, dose, tamp — in that order
A shot that finishes in under 20 seconds and tastes thin and sour is the single most common espresso complaint, and it is almost never the machine. Espresso works by forcing water through a compacted bed of coffee at roughly 9 bar; if that bed offers too little resistance, water races through before it can extract anything worth drinking. Three things build resistance, and they fail in a predictable order.
1. Grind too coarse
This is the fix that resolves the largest share of "watery shot" complaints. If your grinder is set anywhere close to drip-coffee coarseness, water finds gaps between particles instead of forcing its way through them. Espresso grind should look like fine table salt or slightly finer — noticeably finer than what you'd use for a pour-over. Go two to four clicks finer on a stepped grinder and pull another shot; if the shot now runs 25–30 seconds instead of 12–15, that was it.
A blade grinder cannot produce this consistently no matter how long you run it — it produces a mix of dust and boulders rather than a uniform particle size, and no amount of grind-size guessing fixes that. If you're using one, the "fix" is a burr grinder, not a setting.
2. Dose too low
A standard double shot starts around 18 grams of dry coffee. Baskets vary, but a basket that looks full at 14–15 grams leaves too little coffee to build resistance against 9 bar of water, regardless of grind. Weigh your dose on a kitchen scale once — most people underestimate by 2–3 grams simply by eyeballing a scoop.
3. Tamp too light or uneven
Tamping compresses the dose into a level, even puck. A light or lopsided tamp leaves a channel of low resistance on one side of the basket, and water carves that channel wider as the shot runs — a phenomenon baristas call channeling. Tamp level, firm, and straight down; you're aiming for a puck that's compressed evenly, not for a specific pressure number. If you pull the spent puck and see a hole or a pale streak through the middle, that's channeling, and it points at tamp technique before it points at the machine.
Work these three in order — grind, then dose, then tamp — because grind has the largest effect and is the fastest to test. If all three are correct and shots are still thin, move to the pressure section below.
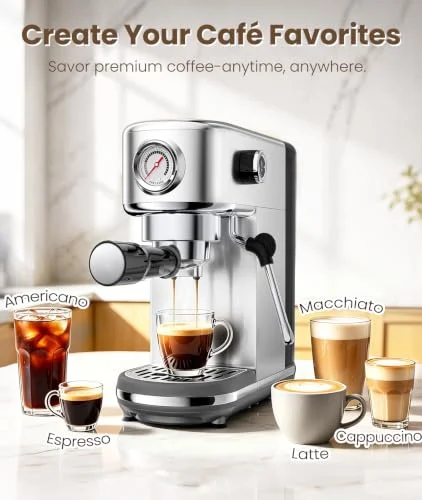
atatix Espresso Machine with Milk Frother
A 20-bar pump semi-automatic in a compact footprint. Like every pump machine in this category, the "20 bar" figure describes the pump's maximum rating, not the roughly 9 bar that actually reaches the coffee — grind, dose and tamp still do the work of building resistance.
$111.08 Check price →4–6. No or low pressure
If grind, dose and tamp are all correct and the shot still runs thin, weak, or barely drips, the problem has moved from technique to mechanics. Three causes account for most of these cases.
4. Pump not primed
On many pump machines, especially after the water tank has run dry or been removed and refilled, the pump can lose its prime — it spins but doesn't move water because air has entered the line. The fix is usually running the brew or hot-water function with the portafilter out for several seconds until water flows steadily, then trying again. Check your machine's manual for a specific priming sequence; most semi-automatics need this occasionally, and it isn't a defect.
5. Blocked shower screen or basket
The shower screen (the small perforated disc above the portafilter) and the basket holes themselves clog with dried coffee oils and fine grounds over weeks of use. A partially blocked screen restricts water flow and drops the pressure the coffee bed actually sees, producing a slow, weak-looking shot despite a correct grind. Unclip and rinse the screen, and back-flush or brush out the basket holes; this is routine maintenance, not a repair.
6. Scale buildup in the boiler or lines
Mineral scale from hard water narrows the internal pathways the machine relies on, and a scaled boiler both restricts flow and struggles to hold temperature — the combination reads as weak, lukewarm shots. This is the most common reason a machine's performance degrades gradually over months rather than failing all at once. Descaling on the schedule your manufacturer recommends (our maintenance schedule guide covers typical intervals) is the standard fix, and it's cheap: descaling solution runs a few dollars a bottle.
If you've primed the pump, cleaned the screen and descaled on schedule and pressure is still low, that combination points toward the machine itself rather than something fixable at home — see the warranty section near the end of this guide.
7–8. Steam wand won't froth
7. Blocked steam tip
By far the most common cause of a wand that hisses but won't texture milk is a clogged tip — dried milk residue plugs the tiny holes the steam exits through. The standard fix takes about 30 seconds: after every use, purge the wand (a short steam burst with nothing under it) before the milk dries, then wipe the tip with a damp cloth. If milk has already dried on, soak the tip in warm water for a few minutes or clear the holes gently with the pin many machines ship with, then purge again. Manufacturers universally recommend purging after every single use for exactly this reason — skip it once or twice and the tip clogs.
8. Insufficient boiler heat-up or wrong technique
If the tip is clear and steam still won't froth properly, two other things matter: giving the machine its full recommended warm-up time before steaming (a cold boiler produces wet, weak steam), and positioning the wand tip just below the milk surface at an angle, rather than buried deep in the pitcher, which creates the whirlpool that actually incorporates air. This is technique rather than a fault, and it's worth practicing with plain milk a few times before assuming the wand is underpowered.
A manual wand and an automatic frother fail differently. Automatic frother units clog at the milk-intake line rather than a simple tip, and manufacturer cleaning cycles (often a button-press auto-clean using water or a cleaning solution) are the fix — check your model's manual for the specific cycle rather than trying to disassemble it.
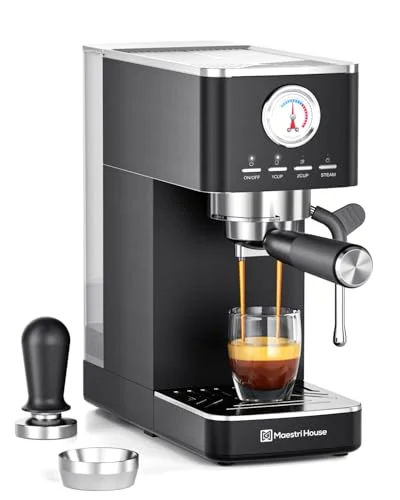
Maestri House Slim Espresso Machine with Milk Frother
A 20-bar Italian-pump machine with a 1.3 L tank and a milk frother. Whatever wand or frother a machine ships with, purging it immediately after every use is the single habit that prevents most of the clogging problems in this section.
$139.99 Check price →9. Leaking portafilter and gasket wear
Water or coffee dripping from around the portafilter's edges rather than through the spouts usually traces to the group gasket — the rubber seal the portafilter locks against. Two things wear it out over time: normal use (rubber compresses and hardens with heat cycling, typically needing replacement every one to two years of regular use, sooner with heavier daily use) and over-tightening or under-tightening the portafilter, which stresses the seal unevenly.
Before assuming the gasket has failed, check the basics: make sure the portafilter is locked in fully (a firm quarter-turn stop, not a partial twist), that the dose isn't overfilled to the point the puck presses against the screen and prevents a full seal, and that dried coffee grounds haven't built up on the gasket's sealing surface — wiping it after each use prevents this. If the leak persists with a clean, correctly dosed portafilter locked in fully, the gasket has likely hardened or cracked and needs replacing; it's a standard, inexpensive part on most semi-automatic machines and manufacturers typically sell it directly.
10–11. Loud pump, rattling, or no water pickup
10. Unusually loud or rattling pump
Vibration pumps (the type used in most home semi-automatics) always make some mechanical noise — that's normal. A sudden change from the usual hum to a harsh rattle or grinding sound is different, and it's most often either a loose internal mounting (common after a machine has been moved or shipped) or the pump straining because it isn't drawing water properly, which brings you to the next point.
11. No water pickup from the tank
If the pump runs but no water reaches the group, check the simple things first: the tank is seated fully in its slot, the water level is above the intake tube's minimum line, and the intake filter or tube isn't kinked or clogged with scale. An empty or nearly empty tank is the most common cause of "no water" complaints, followed by a tank that looks seated but isn't fully clicked into its connector. If the tank is full, seated, and the machine still won't draw, that combination — like persistent low pressure after cleaning and descaling — is a mechanical sign rather than a maintenance one.
12. When it is genuinely the machine: warranty and replacement math
Most of what's above resolves with cleaning, technique, or a five-minute fix. But if you've worked through grind, dose, tamp, priming, cleaning, descaling and gasket checks and the problem persists, it's reasonable to conclude the fault sits inside the machine — a failed pump, a cracked boiler, or an electrical fault are not things to attempt to repair yourself on a machine still under warranty, and often not worth attempting even once it's expired.
Check your proof of purchase date against the manufacturer's stated warranty term before doing anything else; most home espresso machines carry a one- to two-year limited warranty on the unit, and a persistent pressure or heating fault within that window should go back to the manufacturer rather than to a third-party repair shop, which can void what's left of the coverage.
Outside of warranty, the math is straightforward: get a repair quote before assuming replacement is cheaper. A budget machine like the CASABREWS 3700 Essential at $99.99 is priced close enough to a like-for-like replacement that a repair bill of $60–80 on a multi-year-old unit rarely makes sense. On a machine with a built-in grinder — the kind of investment represented by the Breville BES870XL Barista Express at $675.00 — a repair is far more often worth pursuing, since replacing the whole unit means also replacing a grinder, dose control and accessories that may still be working perfectly. As a rule of thumb: if a quoted repair is under roughly a quarter of the machine's original price and the rest of the unit is sound, repair; above that, price a replacement instead. Our picks under $500 and picks under $200 cover where that replacement money goes furthest.
The habit that prevents most of this list
Purge the steam wand after every use, wipe the group gasket and shower screen weekly, and descale on the schedule your manufacturer publishes for your water hardness. Those three habits are behind most of the problems in sections 4 through 9 — prevention here is genuinely cheaper and faster than any fix.
Preventing the repeat
Once a problem is fixed, the more useful question is why it happened, since most of these causes recur on a schedule if left alone. Grind drifts as burrs wear, scale accumulates continuously in hard-water areas, and gaskets harden on a timeline regardless of how carefully you use the machine. Our maintenance schedule guide lays out daily, weekly, monthly and yearly tasks by name, so the fixes above become things you do on a calendar instead of things you troubleshoot in a panic before work. If the grind-dose-tamp section above was the one that applied to you, beans and grind size goes further into dialing that in specifically.
How we compared these
This guide is built from published manufacturer troubleshooting guidance and standard mechanical causes that repeat across pump espresso machines regardless of brand — priming behavior, gasket wear, scale accumulation and steam-tip clogging are documented failure modes, not speculation. We do not physically test these machines and we do not run a repair bench: where a fix reflects manufacturer instructions (purging a wand, descaling, checking a warranty term) we say so, and where a claim is a judgement about which cause is most likely, we've said that in our own voice rather than presenting it as verified fact. We publish no star ratings or review counts for the products named here because Amazon's product data provides none for these machines.
Frequently asked questions
My espresso shot runs too fast and tastes watery — what's the first thing to check?
Grind size, almost always. Espresso grind should look like fine table salt; anything close to drip-coffee coarseness lets water race through the coffee bed in under 15 seconds instead of the usual 25–30, and the shot comes out thin and sour. Adjust two to four clicks finer before checking dose or tamp.
Why won't my steam wand froth milk anymore?
The most common cause by far is a clogged steam tip from dried milk residue blocking the small holes the steam exits through. Purging the wand immediately after every use — a short steam burst with nothing under it, before milk can dry — prevents this. If milk has already hardened on, soak the tip in warm water or clear it with the pin many machines include, then purge again.
Is it normal for my espresso machine's pump to be loud?
Some mechanical hum is normal for the vibration pumps used in most home machines. A sudden change to a harsh rattle or grinding sound is not, and it's usually either a loose internal mount or the pump straining because it isn't drawing water properly — check the water tank is full and fully seated before assuming a mechanical fault.
Should I repair my espresso machine or replace it?
Get a repair quote first. As a rough rule, if the quote is under about a quarter of what the machine originally cost and the rest of the unit is in good shape, repair is usually worth it — especially on a machine with a built-in grinder, since replacing the whole unit means replacing working parts too. On an inexpensive machine, a repair bill can approach the cost of buying a new one outright, which tips the math toward replacement.